Examples
All these examples are animated which the below photos aren’t great at showing. Imagination.
To run the examples you first need to install neotiles. Once that’s done you can either copy/paste the example code from the github links below, or clone the neotiles repository from gitlab:
git clone https://github.com/mjoblin/neotiles.git
The examples are in the neotiles/examples directory. Out of the box they
should work with an 8x8 neopixel matrix on pin 18, but you’ll likely need to
edit them slightly to ensure they’ll work with your particular matrix. Look
for these lines:
# Matrix size.  cols, rows.
MATRIX_SIZE = MatrixSize(8, 8)

# For a neopixel matrix.
LED_PIN = 18

# For an RGB matrix.
CHAIN = 2
And then further down in the code uncomment either the NTNeoPixelMatrix:
tiles = TileManager(
    NTNeoPixelMatrix(MATRIX_SIZE, LED_PIN, strip_type=STRIP_TYPE),
    draw_fps=10
)
Or the NTRGBMatrix:
tiles = TileManager(NTRGBMatrix(chain_length=CHAIN), draw_fps=10)
Speckled tiles
Draws three speckled tiles and updates each tile’s base color once per second. A speckled tile is just a single block of color where each pixel’s intensity is varied slightly to give it a somewhat speckled look. The top left tile is also constantly updating its speckliness at the frame rate of the tile manager.

This example shows how to:
- Include one tile in the tile manager’s animation loop but not the others.
- Send data to individual tiles via the
Tile.dataattribute.
Clock blocks
Displays the current time as 4 vertical tiles representing the day of the week, the hour, the minute, and the second. The intensity of each tile depends on how far through the week/day/hour/minute we are at the current time. This means that the seconds tile will go from dark to bright once per minute; the minute tile will go from dark to bright once per hour; etc.
The changes are all pretty subtle (except perhaps for the seconds tile).

This example shows how to:
- Create a Tile subclass which takes creation parameters.
- Include all tiles in the tile manager’s animation loop.
- Send data to all tiles at once with
TileManager.send_data_to_tiles().
Text scroller
Draws two tiles: the top one (using most of the matrix) displays scrolling text. The bottom one displays the progress of the scrolling text. In the photo below the progress is basically 100% complete so the red progress tile is filling its full width.

This example shows how to:
- Use another matrix-drawing library to draw to a neopixels tile.
- Maintain state within a tile.
- Use
Tile.is_accepting_datato control when a tile is willing to have its data updated. - Have one tile send data to another tile.
For this example to work we need to install the micropython-adafruit-bitmap-font library and make a small tweak to get it to work outside of Micropython. Do the following in a cloned copy of neopixels:
cd examples/
git clone https://github.com/adafruit/micropython-adafruit-bitmap-font.git bitmapfont
Then edit bitmapfont/bitmapfont.py and change import ustruct to
import struct as ustruct. This tells bitmapfont to use Python’s native
struct module rather than Micropython’s ustruct.
If using Python 2, create an empty bitmapfont/__init__.py.
We can now import the BitmapFont class like this (which is what the text scroller example does):
from bitmapfont.bitmapfont import BitmapFont
This will only work if you run the example while you’re in the neotiles examples directory.
Growing tile
Draws a single red tile, 1x1, at the top left of the matrix and then grows it out in both dimensions until it fills the full width of the matrix. When it gets to the full width it shrinks the tile back again. Repeat. This example is a bit dull to merit a photo.
This example shows how to:
- Draw a tile to the matrix using the default Tile class (i.e. not subclassing).
- Change a tile attribute (
Tile.size) and see it update on the matrix.
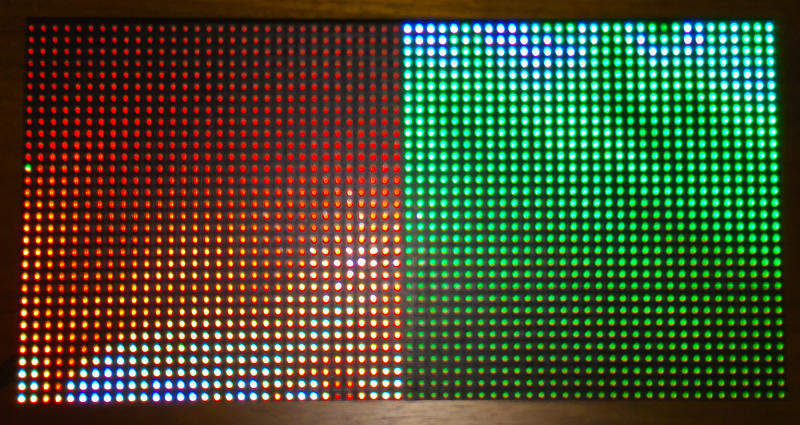
Fire
Draws two fire simulations on the matrix, side by side. One tile displays a red fire based at the bottom of the matrix and the other tile displays a green fire based at the top of the matrix.
For this example you can play with size_divisor in main() to vary the
height of the fire.
This example is mostly copy-pasted from this gist which is described in this video.
Here’s the same example altered to show 64 fires, each in their own 1-pixel wide tile:
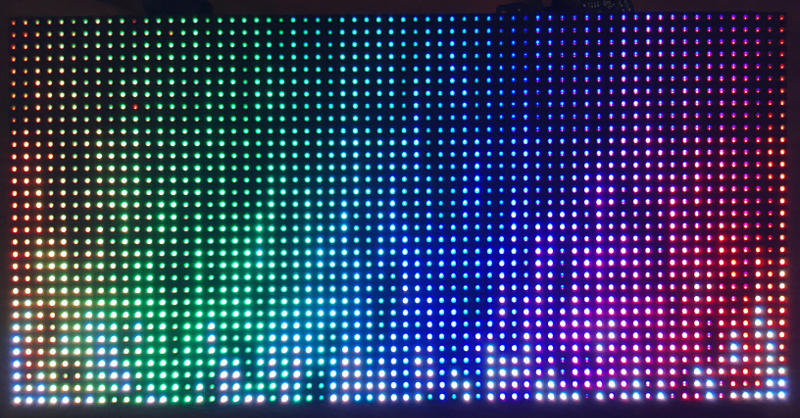
The code for the above looks like this:
size_divisor = 4.3
hue_offset = 0

tiles = TileManager(NTRGBMatrix(rows=32, chain=2))

for i in range(64):
    fire = FireTile(size_divisor=size_divisor, hue_offset=hue_offset)
    hue_offset += 4
    tiles.register_tile(fire, size=(1, 32), root=(i, 0))
This example shows how to:
- Use the
Tile.on_size_set()handler. - Animate tiles without sending them any data.